AEDtrax - ZOLL AED 3 monitoring system
Instruction Manual
AEDtrax offers a comprehensive and independent monitoring solution for the ZOLL AED 3. This saves you a lot of time and money and allows you to focus more on your essential work. You are automatically notified as soon as action is required on the ZOLL AED 3.
Here you will find step-by-step instructions on how to install AEDtrax. Download the instructions as pdf file.
Here you can download the user manual as a PDF file.
Step 1
Remove the AED 3 electrode pack from the electrode compartment.Note the serial number of the AED (on the back; starts with "AX…..") and the Trax number (on the top; starts with "TH……")
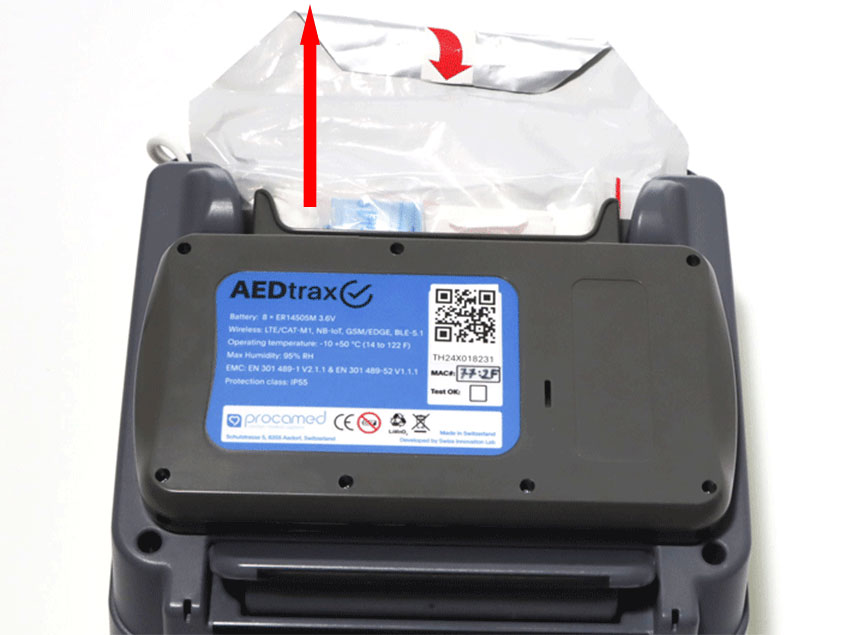
Step 2
Using a Torx T8 screwdriver, remove the screw of the rubber seal on the back of the AED and dispose of the rubber seal along with the black washer (keep the screw).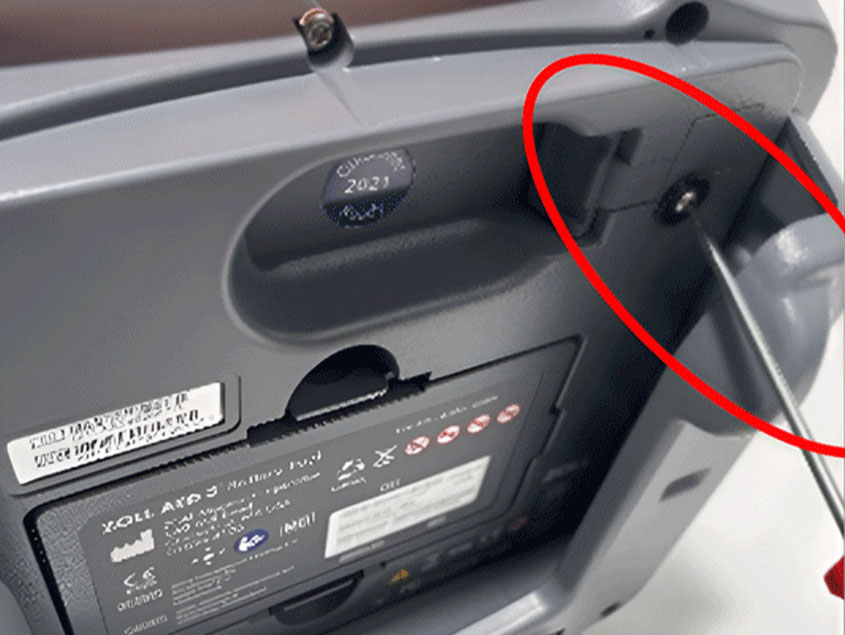
Step 3
Plug the supplied USB cable into the back of the AED and reattach the previously removed screw.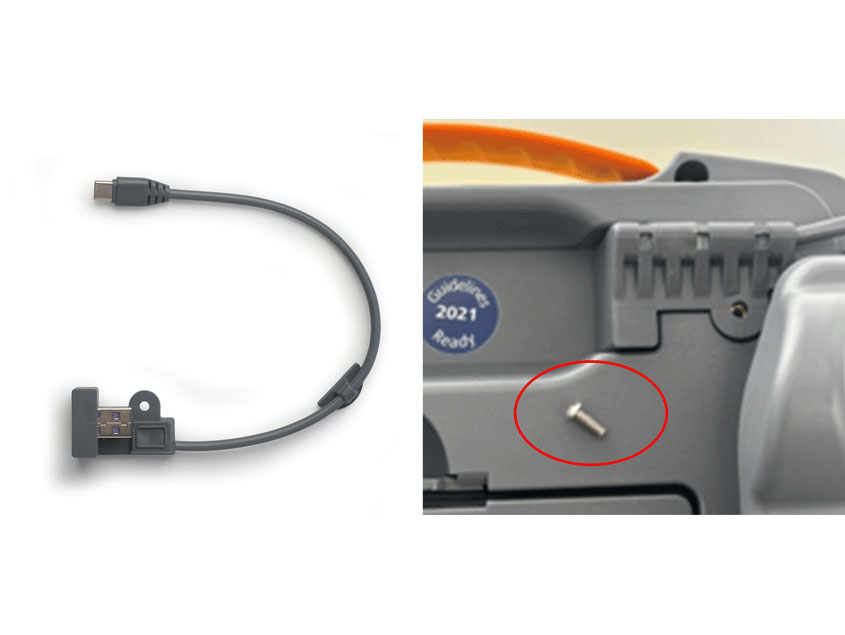
Step 4
Clean the right edge of the AED housing (viewed from the back) with a degreasing agent (e.g., cleaning benzine).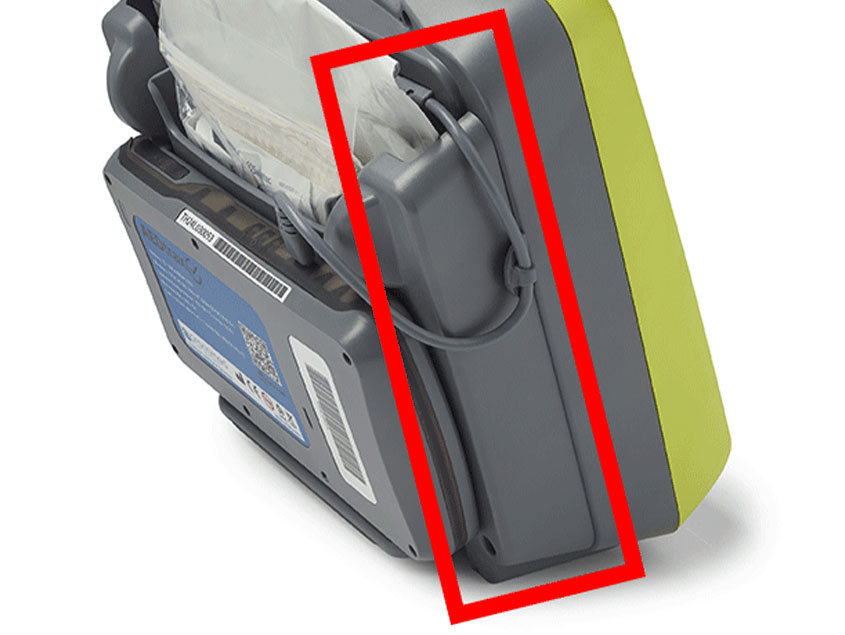
Step 5
Remove the protective film from the cable holder and attach it to the edge of the AED housing.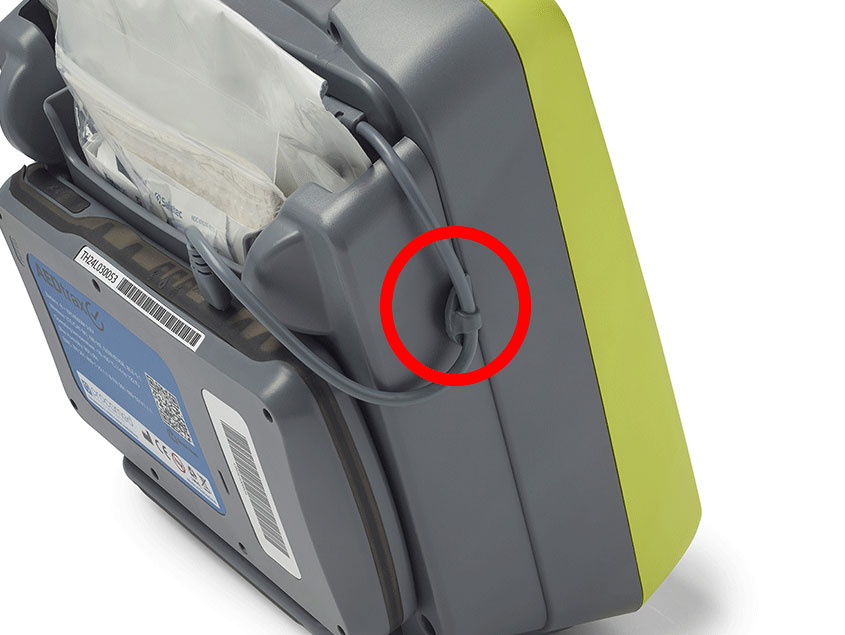
Step 6
Open the rubber seal on trax and turn it on using a thin metal pin (e.g., a paperclip)middle position: trax ON, GPS OFF
left position (recommended): trax & GPS ON
right position: trax off
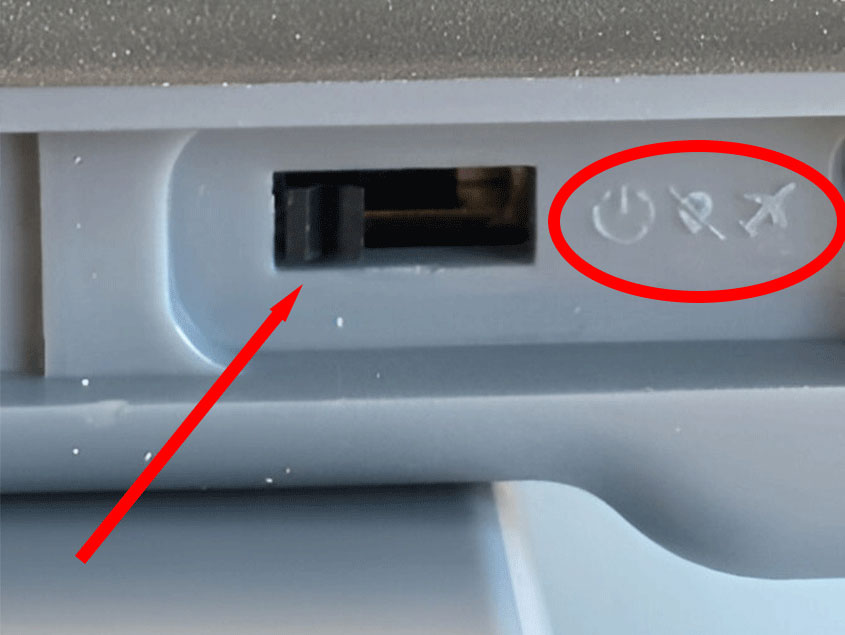
Step 7
Pull the sliding plate on trax upwards, place trax against the electrode compartment, and then push the sliding plate down until it clicks into place and connects with the AED.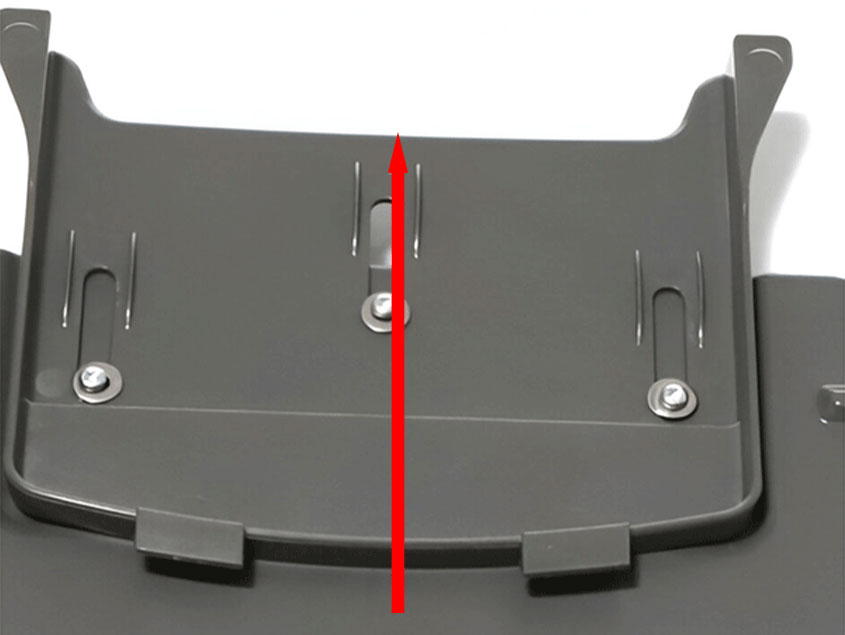
Step 8
Insert the USB-C plug into trax and check for a clean cable arrangement.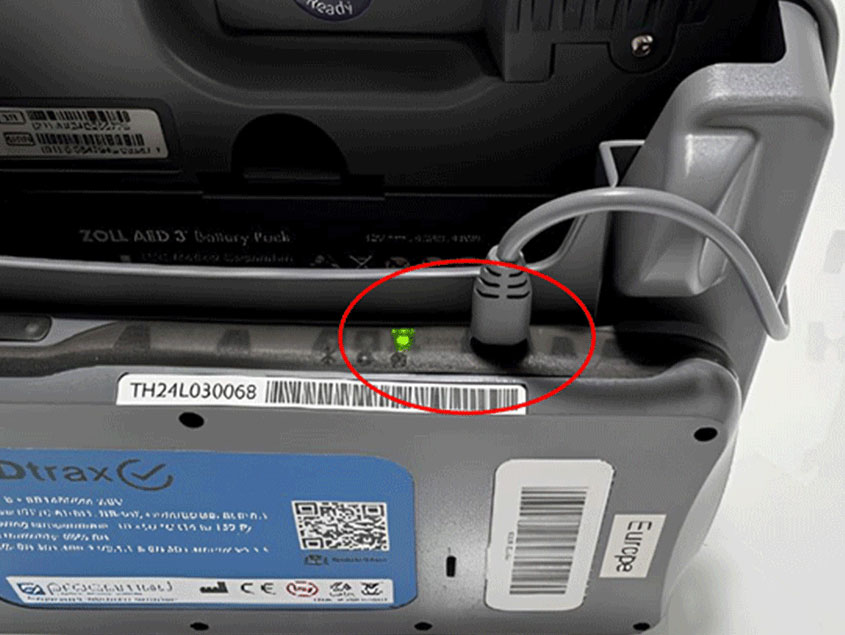
Step 9
Place the electrodes back into the electrode compartment (scissors facing the AED, emergency kit facing away from the AED).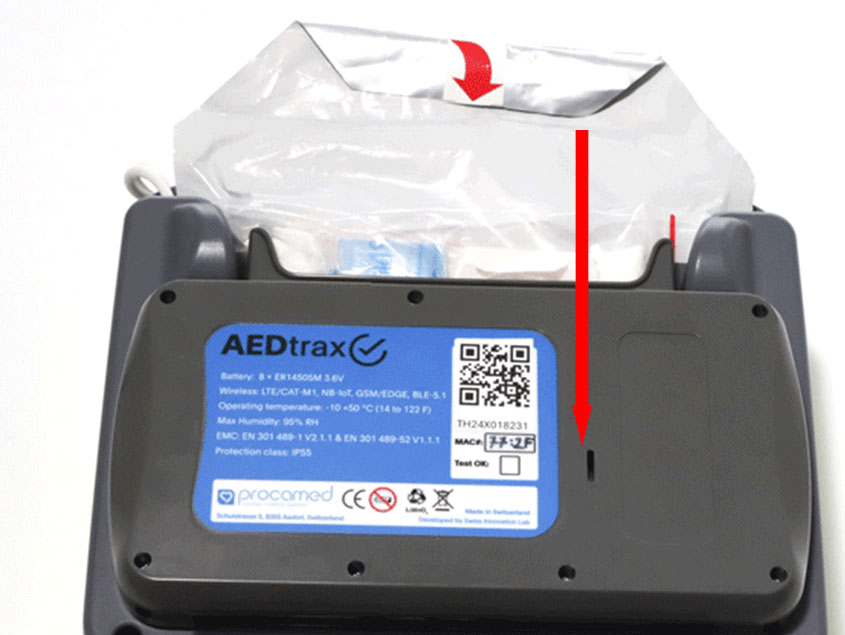
Step 10
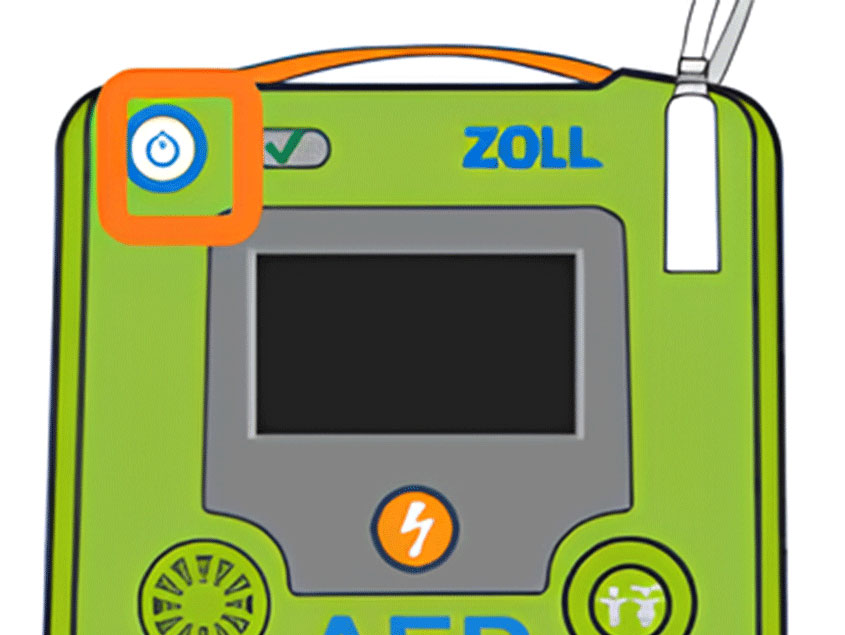
Configure the AED:Power ZOLL AED 3 device on to non-rescue mode. Press and hold “ON/OFF” button for 10 seconds or until you see the ZOLL Logo.
Step 11
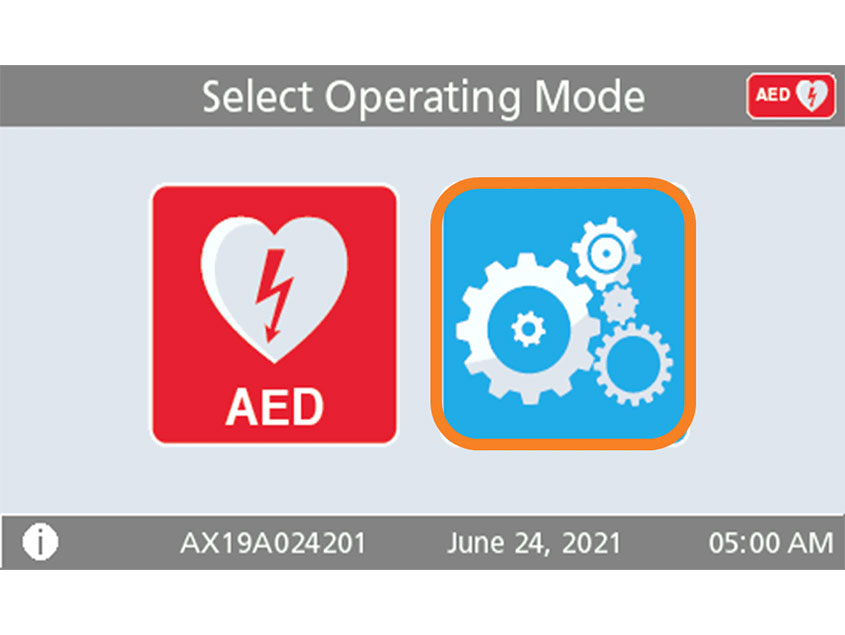
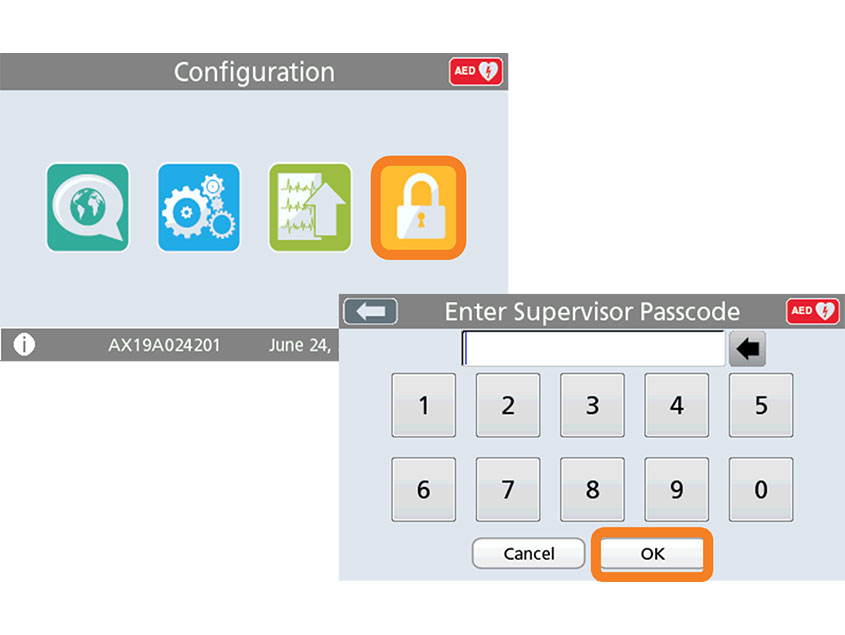
Press the "Device Configuration" icon to open the configuration screen.Press the "Supervisor Access" icon.
Step 12
Enter the 6-digit code from the User manual and confirm with "OK".Default passwort: 5, 6, 7, 8, 9, 0
Step 13
Press the "Settings" icon.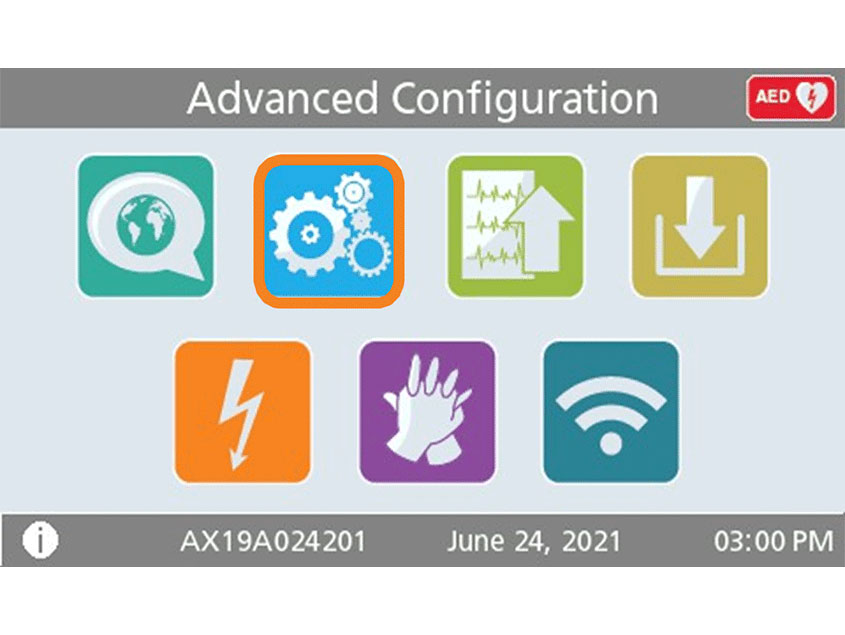
Step 14
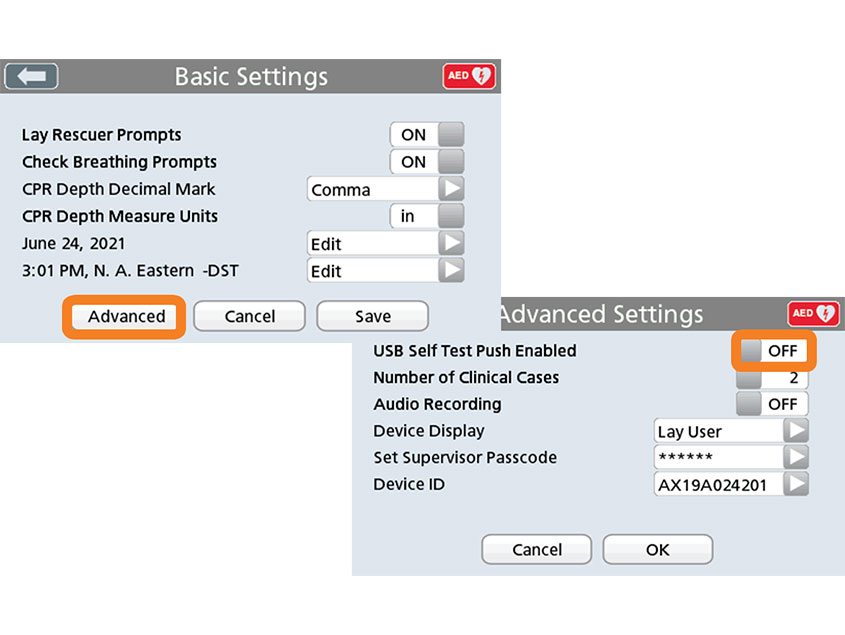
Press "Advanced".Set "USB Self-Test Push Active" to "ON" and confirm with "OK" and "Save".
Step 15
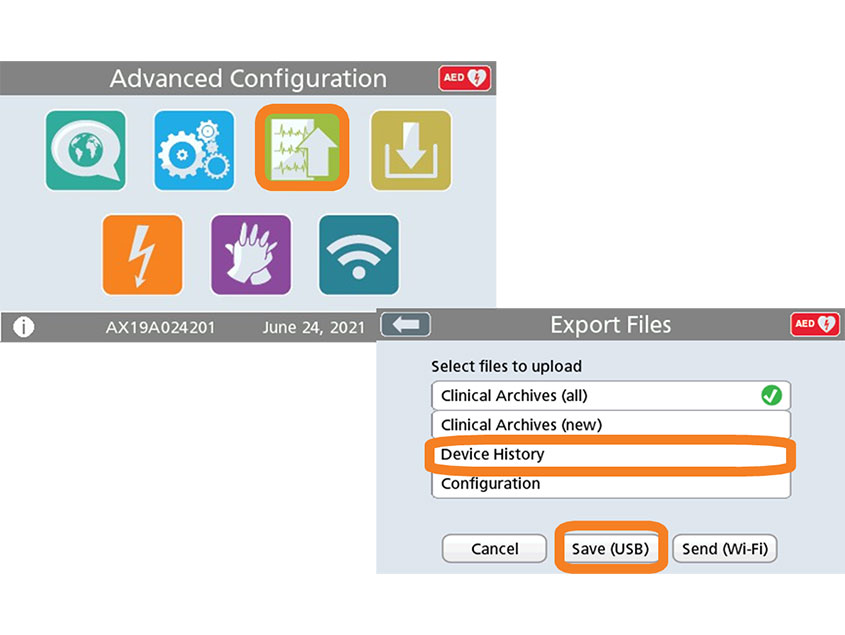
Press the "Export Files" icon.Select "Device History Data" and
press "Save (USB)".
If "Completed" appears at the end, the transfer was successful. Confirm with "OK".
Step 16
Turn off the AED 3 by pressing the power button for approximately 2 seconds. The message "Shutdown in progress" will appear on the monitor.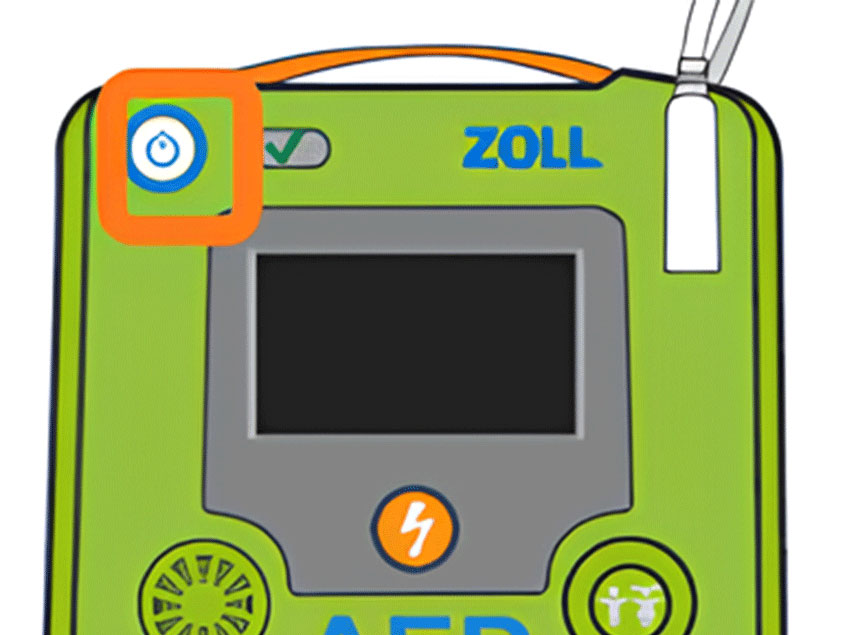
Step 17
Log in to plustrac to set your device up on the platform.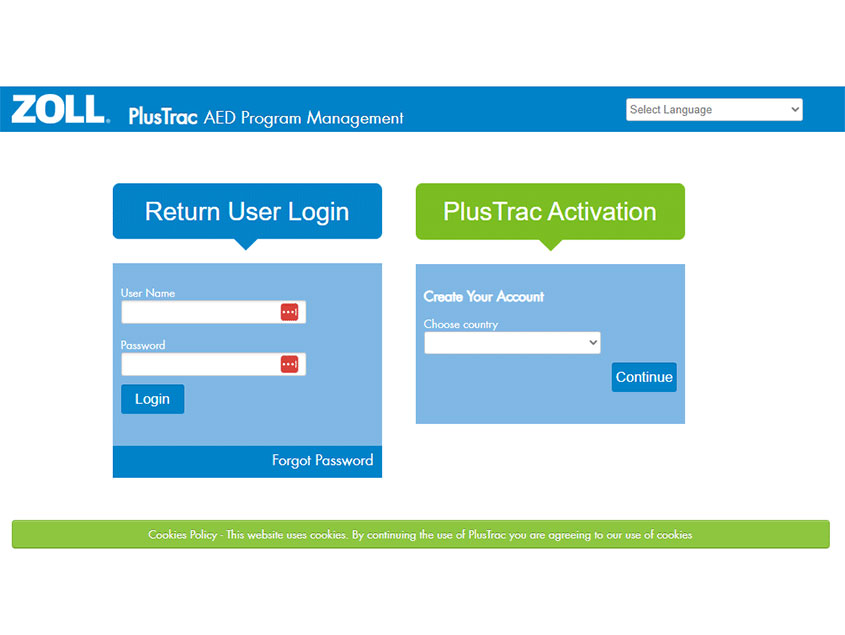
Step 18
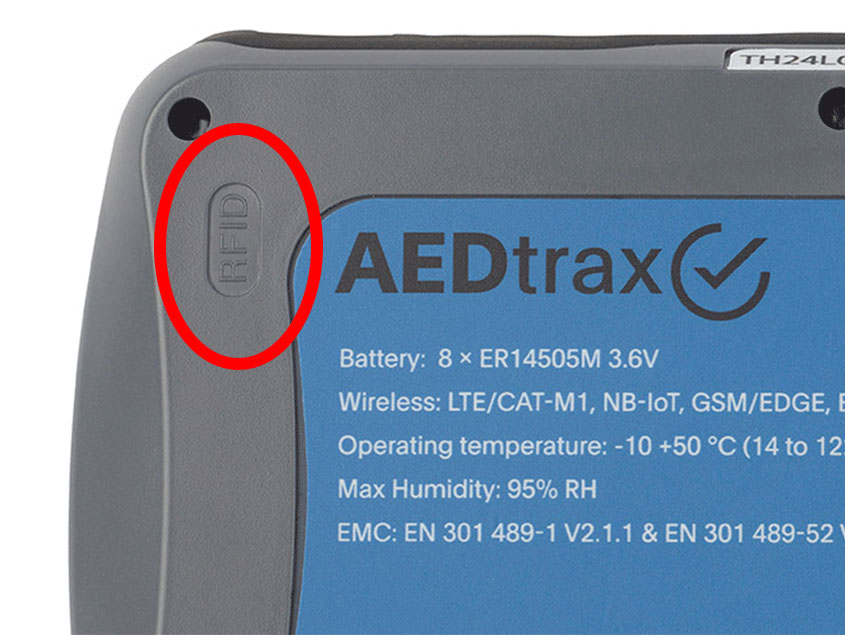
If you use AEDtrax with the RFID option, place the RFID Card on a firm surface . if the surface is metallic, use a distance holder of minimum 5mm to the RFID Card. Place the RFID Card in the cabinet so that it can connect with trax upper left corner when it is placed into the cabinet.